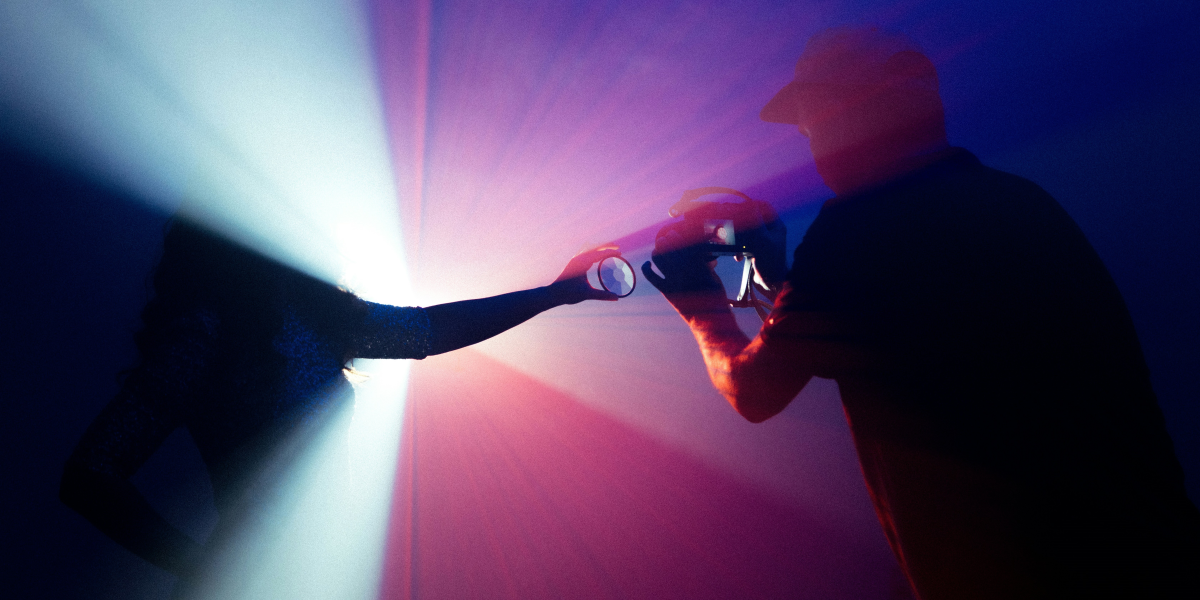
Fashion photography thrives on innovation and the ability to push creative boundaries. Incorporating projectors into your shoots can be a dynamic way to achieve unique visual effects, using light, color, and patterns to add dimension and depth. This guide explores how to effectively integrate projectors into fashion photography, from equipment selection to model direction and creative experimentation, allowing you to create visually captivating images that stand out.
Setting Up Projector-Based Fashion Shoots for Impactful Visuals
Selecting the right projector is critical to achieving crisp, well-lit projections. Opt for a projector with high lumens for brighter environments and high resolution for sharp image quality. Lightweight, easily connected projectors add flexibility to your setup, while short-throw models allow large-scale images even in small spaces. Planning the projection style and theme thoughtfully ensures cohesive visuals—use a storyboard to refine your ideas and select pictures that complement your scene. Position and secure the projector to create a balanced focal point, experimenting with angles and distances to enhance clarity and stability during the shoot.
Crafting Depth and Balance with Projected Light
Experimenting with projection effects in photography can yield unique, layered visuals. Use static images, animations, or patterns as light sources, blending them with ambient lighting for a cohesive look. Adjusting opacity, layering, and blending modes integrates projected images seamlessly while backlighting and sidelight effects add striking outlines and depth. Achieving balanced lighting requires adjusting ambient light and camera exposure settings; using moderate ISO reduces noise, and wide apertures bring in more light while creating a soft blur. Stabilizing the camera at slower shutter speeds further ensures sharp, detailed images, highlighting the model and projection effects.
Directing Models for Maximum Visual Impact
Directing models effectively is essential when working with projections. Clear communication about posing, movement, and interacting with the projected images will help them convey emotion and energy per the shoot’s theme. Encourage poses that complement the projected visuals, such as angular poses for a geometric projection or soft, flowing movements for a more romantic effect.
Instruct models to engage with both the camera and the projections—turning toward or away from the light source or incorporating hand gestures to accentuate the projection’s shapes and colors. Minor adjustments, like the angle of the chin or the position of the arms, can make a notable difference in capturing an engaging and cohesive image. Additionally, experimenting with movement, such as a slight shift in weight or tilting the body, can further add dynamism, making the interplay of light and form more visually compelling.
Adding Props and Accessories for Enhanced Depth
Incorporating carefully chosen props and accessories can elevate the aesthetic of your projector-based shoot. Use reflective items like mirrors or metallic surfaces to create exciting reflections or refractions that add layers to your images. Experiment with fabrics or translucent objects that allow the projections to pass through, casting unique shadows and patterns on the model or background.
The interaction between props and projections can create depth, visual interest, and contrast in the image, turning the composition into a visually and texturally rich work of art.
Editing and Enhancing Images in Post-Production
After the shoot, refine your images in post-production to enhance the quality of your projector-based photos. Using editing software like Adobe Lightroom or Photoshop, adjust color balance, contrast, and exposure to achieve the desired mood. You can also refine details by reducing noise, sharpening textures, and enhancing highlights or shadows to emphasize the projection effects.
Consider using techniques like dodging and burning to selectively brighten or darken areas, adding depth and focus to specific parts of the image. With post-processing, you can fine-tune the image to create a polished, professional look that brings your creative vision to life.
Embracing Continuous Practice and Experimentation
Incorporating projectors in fashion photography is an evolving skill that grows with practice. Experiment with new techniques, angles, and projection styles to push your creative limits. Each shoot offers an opportunity to learn what works best for your artistic vision, allowing you to refine and expand your skillset over time.
As you continue practicing and experimenting, you may discover unique ways to use projectors, building a signature style that sets your work apart. Regularly practicing these techniques will help you develop confidence in integrating projectors into your shoots, allowing you to produce standout fashion images with originality and impact.
Collaborating for Broader Perspectives and Inspiration
Collaborating with other creative professionals can significantly enhance your approach to projector-based fashion photography. By seeking insights from photographers, stylists, and visual artists, you gain fresh perspectives and overcome challenges, which can lead to new artistic directions. Building a creative network allows you to share best practices and gain inspiration, strengthening your ability to create impactful images. With careful planning, equipment selection, and continuous training, projector-based photography becomes a versatile tool for adding depth and artistry, helping you leave a lasting impression with your work.
Published by: Annie P


